Technique
ISO, Exposure and the Histogram at Night: How to Expose Astrophotography Correctly
In daytime you balance three exposure settings. At night two of them are already decided. Star trailing limits the shutter and the lens limits the aperture. That leaves ISO, which a lot of people misunderstand. This guide covers what ISO does, why you should judge exposure by the histogram and not the screen after dark, which noise settings matter for RAW, and starting exposures for the common subjects. If you came here for the best ISO for astrophotography, the short answer is in the box below. The rest of the article explains why it isn't a single number.
At a glance
- Settings: manual, RAW, aperture wide open, shutter from the NPF rule, ISO 1600–6400 chosen so the sky's histogram peak sits a quarter to a third of the way from the left.
- ISO: gain applied after the light is collected. It adds no light. It gives you a brighter file and less highlight headroom. Most cameras stop benefiting around ISO 1600–3200.
- Histogram: judge the sky by the hump, never by how bright the back screen looks. Stars will clip, and that's fine.
- Noise reduction: use long-exposure NR only for single long frames. High-ISO NR only affects JPEGs, so ignore it for RAW.
- Afterwards: lift a well-exposed frame a little, or stack several. Don't try to rescue a dark one.
The exposure triangle at night
Exposure, meaning the light that reaches the sensor, is set by how long the shutter is open and how wide the aperture is. ISO isn't part of it. At night both of those settings are already at their limit.
- Shutter is limited by the Earth's rotation. Past a certain length stars stretch into dashes. The NPF rule gives the limit for your lens and sensor, about 11 s at 24 mm f/2.8 on a 24 MP full frame. See the 500 rule and NPF rule guide.
- Aperture is limited by the lens. Use it wide open, or a third of a stop down to reduce coma in the corners. It can't go any wider.
- ISO is the only setting left, and it can't add light. It sets how bright the light you collected looks in the file.
What ISO does
ISO doesn't make the sensor more sensitive. The photodiodes collect the same number of photons whatever ISO you set. What changes is the amplification applied to that signal before it's written to the file. Two things follow from that.
Raising ISO adds no information. A 20 s frame at f/2.8 holds the same photons at ISO 800 as at ISO 6400, and the second file is just brighter. Also, every doubling of gain pushes the brightest tones one stop closer to clipping. What high ISO costs you is highlight headroom, not "more noise".
Read noise, shot noise and the best ISO for astrophotography
Two kinds of noise matter at night.
- Shot noise is in the light itself. Photons arrive at random, and the scatter in a count of N photons is √N. A sky pixel that collects 100 photons carries ±10. One that collects 400 carries ±20, but that's now 5% rather than 10%. The only fix is more light, which means a longer shutter, a wider aperture, or more frames stacked. ISO doesn't change it, and it's most of the noise you see at night.
- Read noise is added by the electronics each time the sensor is read, a fixed few electrons per exposure. It's added after the signal, so amplifying the signal first makes the read noise smaller compared with the picture. That's why ISO 1600 looks cleaner in the shadows than ISO 100 pushed four stops on most cameras.
The input-referred read-noise charts at photonstophotos.net show the same shape for almost every modern camera. Read noise falls steeply from base ISO, then flattens. Above the flat point the sensor is ISO-invariant. A frame shot at ISO 1600 and lifted two stops in RAW matches one shot at ISO 6400, except that it kept two stops of highlight headroom.
Many current sensors add dual conversion gain. At one ISO the pixel switches to a higher-gain mode and read noise drops suddenly. On the Sony a7 III that step is ISO 640, and on the Nikon Z6 it's ISO 800. Just below the step shadows are worse than just above it, so on those bodies ISO 500 is a poor choice and ISO 640 or 800 a good one.
Finding your camera's sweet spot. The chart is the quick way. A field test shows your own camera under your own sky. On a tripod, fix aperture and shutter and shoot the same frame at ISO 800, 1600, 3200 and 6400. Push each to equal brightness in RAW (+3, +2, +1, 0 stops) and compare the shadows at 100%. Where the pushed lower-ISO frame stops looking worse than the next one up, the curve has flattened. Shoot there or one stop above, and no higher. That's the best ISO for astrophotography on your camera, and it's usually lower than people expect.
Reading the histogram in the dark
At night the back screen is the brightest thing for miles. Your eyes are dark-adapted and the LCD is at daytime brightness, so every frame looks fine on the screen. Then you get home and the sky is black and full of noise. Don't judge exposure from the picture on the screen. Turn the screen to minimum brightness and read the histogram.

Use expose to the right, adapted for the night sky:
- The sky's hump sits a quarter to a third in from the left. Keep it off the left wall, where read noise and colour blotches show up. Don't push it further right than it needs to be, because the extra gain only costs headroom.
- Nothing of the sky reaches the right wall. A bright aurora clips the green channel first, and a light-polluted sky clips everything. Shorten the shutter or drop the ISO before that happens.
- Stars will clip, and that's fine. A star is a point thousands of times brighter than the sky. The histogram counts millions of sky pixels. The stars are a few hundred and barely show on it. If you expose for the stars you underexpose everything else.
The most common night-exposure mistake we see is shooting a dark, safe-looking frame and planning to "fix it in post". Lifting shadows three stops in the converter is the same amplification you didn't do in the camera, applied to a file with fewer photons per pixel and, on a non-invariant sensor, more read noise. The noise was in the frame all along. You couldn't see it in the dark preview.
RAW and white balance
Shoot RAW at night. A RAW file holds 12 or 14 bits per channel (4,096 to 16,384 levels) against 256 in a JPEG, and the difference is in the faint tones you're about to stretch. JPEG noise reduction also smears the low-contrast detail the Milky Way is made of, and you can't undo it.
In RAW, white balance is only metadata. The camera records a setting you can change later without loss. Set it anyway, so every frame in a sequence matches and the preview looks right. Start at 3800–4500 K for a dark sky (auto goes orange under light pollution), 3500 K for aurora so the green stays green, and daylight (5200–5500 K) for the Moon, which is sunlit rock.
Long exposure noise reduction: on or off?
Long-exposure noise reduction (LENR) is dark-frame subtraction. After the exposure the camera makes a second one of equal length with the shutter closed, records the hot pixels and thermal signal, and subtracts them. It works, but it doubles the time for every exposure, so a 4-minute frame takes 8 minutes. It does nothing for shot or read noise, only for the fixed pattern that repeats frame to frame.
- Use it for single long exposures (minutes, Bulb, tracked frames), when hot pixels show, and on warm nights.
- Turn it off for any sequence: meteors, ISS passes, timelapse, stacked Milky Way frames and especially star trails, where the pause between frames becomes a gap in every arc.
High-ISO noise reduction applies only to the in-camera JPEG. It doesn't touch the RAW data, so if you shoot RAW it doesn't matter how it's set.
Astrophotography camera settings by subject
These are the settings the site's other guides use. Treat each one as a starting point and check it against the histogram on the night.


| Subject | Aperture | Shutter | ISO | Notes |
|---|---|---|---|---|
| Milky Way | f/2.8 or faster | 10–25 s (NPF) | 3200–6400 | Dark sky, no Moon. Stack 8–20 frames for a clean sky. |
| Meteor shower | f/2.8 or faster | 15–25 s | 1600–3200 | Continuous, 1 s gap, LENR off. |
| Aurora | f/2.8 or faster | 0.5–12 s | 1600–6400 | Use a shorter shutter when it moves faster. Watch the green channel. |
| Star trails (stacked) | f/2.8–f/4 | 30–60 s per frame | 800–1600 | 100–500 frames, LENR off. Lower ISO keeps star colour. |
| Moonlit landscape | f/2.8–f/4 | 10–20 s | 200–800 | Full Moon behind you. The scene looks like dim daylight. |
| Moon, telephoto | f/11 | 1/ISO | 100–400 | The Looney 11 rule: f/11, 1/100 s at ISO 100. Open a stop for a crescent. |
| Conjunction in twilight | f/4–5.6 | 1/15–2 s | 200–800 | Expose for the sky. The Moon's limb clips a little. |
| ISS pass | f/2.8 | 10–13 s per frame | 400–800 | Continuous. Stack with Lighten. |
Still Dark Camera Tools carries exposure recipes for the Moon, Sun, Milky Way, meteors and eclipses, and computes the NPF and 500-rule shutter limits for your focal length, aperture and sensor. Every exposure in this article has to stay under that limit. Enter the lens once and the recipes update.
Stops and equivalent exposures
A stop is a doubling or halving of light. Shutter doubles (10 s → 20 s), ISO doubles (1600 → 3200), and the f-number steps by √2 (f/2 → f/2.8 → f/4), each step halving the aperture's area. Trade one stop for another and the file is just as bright. The noise and the trailing do change, and that's how you choose between them.
| Aperture | Shutter | ISO | Same brightness because |
|---|---|---|---|
| f/2.8 | 20 s | 3200 | Reference Milky Way frame. |
| f/2 | 10 s | 3200 | One stop wider, half the shutter: same light, half the trailing. |
| f/4 | 40 s | 3200 | One stop slower, double the shutter: same light, stars trail. |
| f/2.8 | 10 s | 6400 | Half the light, a stop more gain: more shot noise, a stop less headroom. |
| f/2.8 | 40 s | 1600 | Double the light, a stop less gain: cleaner, if the stars don't trail at 40 s. |
| f/2.8 | 20 s | 1600, +1 stop in RAW | Same light. On an ISO-invariant sensor, the same noise and a stop more headroom. |
Bright Moon, city lights and the sky level
Light pollution and moonlight raise the brightness of the sky, not the sensitivity of the camera. The hump that sat a third of the way across in Bortle 3 moves right in Bortle 7, and at the same 20 s, f/2.8, ISO 3200 it can hit the wall. Shorten the shutter or drop the ISO until the hump is back in place. There are plenty of photons, but most of them are skyglow. No setting changes the ratio of Milky Way to background, which is why the Bortle scale guide matters more than anything on this page.
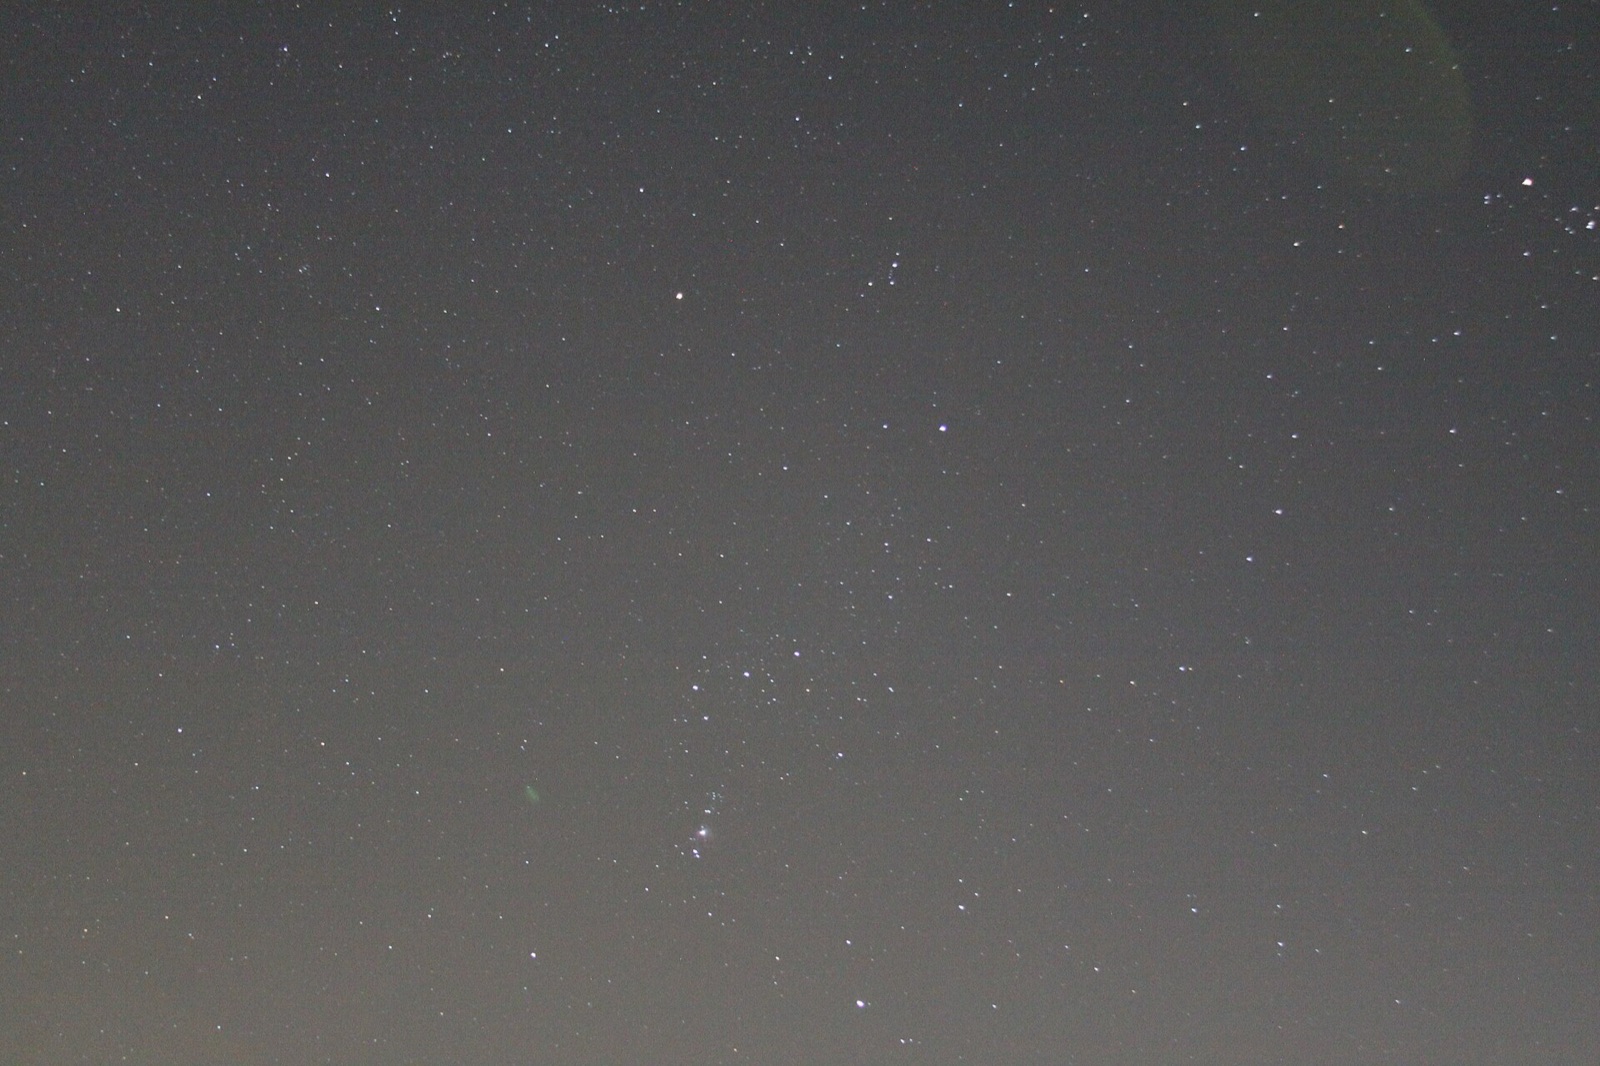

When the frame holds a bright Moon, a lit building or a floodlit foreground beside a dark sky, no single exposure covers it. Bracket: one frame for the sky, then one or two frames two and four stops shorter for the bright part, from the same tripod position, and blend them. For a Moon in the frame the short exposure is near the Looney 11 value, and for a town on the horizon it's usually 1–4 s.
Thin high cloud also raises the sky level. Cirrus scatters moonlight and streetlight across the frame and pushes the histogram right. Still Dark Weather shows low, mid and high cloud layers hour by hour with transparency-style observing conditions, so a night with a clear low forecast but poor transparency is flagged before you drive out.
Stacking instead of more ISO
Because shot noise falls with the square root of the light collected, ten identical frames averaged together carry about 3.2× less noise than one. That's like a much longer exposure, without the trailing. Sequator (Windows), Starry Landscape Stacker (Mac) and DeepSkyStacker align the stars, average the sky and keep the foreground from one frame. Eight to twenty frames at the NPF limit and a moderate ISO give a cleaner result than one frame at ISO 12,800. The star trails guide covers the Lighten-blend variant, and a separate article on noise will cover this in more detail.
A five-step field workflow
- Set the fixed things. Manual, RAW, LENR off for sequences, stabilisation off, LCD at minimum, white balance fixed, aperture wide open, manual focus on a bright star at 100%.
- Set the shutter from NPF for the lens on the camera. This is the longest you can use. You'll only ever shorten it.
- Test frame at ISO 3200 and read the histogram. If the hump is a quarter to a third in, you're done. If it's against the left wall, go to ISO 6400. If it touches the right, shorten the shutter, then drop to 1600.
- Check a star at 100%, not the whole frame. If it's a dash, shorten the shutter and make up the stop with ISO. If it's a bloated blob, close the aperture a third of a stop.
- Lock everything and run the sequence. No auto ISO, white balance or metering mid-run. If the sky brightens (Moon rising, twilight), re-check the histogram every twenty minutes.
A note on phones
A phone makes most of these decisions for you. Night mode picks the ISO and frame length. A single iPhone frame is limited to about 1 s, so the "30-second" shot is a stack of short frames aligned in software, the same method as stacking above. Manual apps let you set ISO and shutter up to that 1 s limit and stack beyond it. The histogram advice holds where an app shows one, and RAW (ProRAW or DNG) still matters. See the iPhone astrophotography guide.
Common mistakes
- Judging exposure by the back screen at night. Use the histogram and turn the screen down.
- Underexposing to "keep the noise down" and lifting three stops at home. The noise was in the dark frame all along.
- Trying to keep the stars from clipping and underexposing the sky to do it.
- Leaving LENR on for a sequence. You get half as many frames, gaps in the trails and missed meteors.
- Shooting JPEG, or auto ISO and auto white balance in a timelapse.
FAQ
What is the best ISO for astrophotography?
Start at ISO 3200 with the lens wide open and the shutter from the NPF rule, then adjust so the sky's histogram hump sits a quarter to a third from the left. Most cameras gain nothing above ISO 1600–3200. On dual-gain bodies such as the Sony a7 III (ISO 640) and Nikon Z6 (ISO 800), stay at or above the step.
Does a higher ISO add noise?
Not directly. The noise comes from too little light, and ISO only makes it visible. Below a camera's sweet spot more ISO reduces read noise. Above it, nothing changes except that highlights clip sooner. A well-exposed ISO 6400 frame is cleaner than an underexposed ISO 800 frame lifted to match.
Should the stars clip in the histogram?
Yes. Stars are points far brighter than the sky, and any exposure that keeps the sky off the left wall will clip the brightest of them. Expose the sky correctly and let the stars clip.
Should long exposure noise reduction be on or off for astrophotography?
On for a single exposure of a minute or more, especially on a warm night or when hot pixels show. Off for any sequence (meteors, star trails, timelapse, stacked Milky Way) because it doubles each frame's time and leaves gaps.
What is ISO invariance?
A sensor is ISO-invariant over the range where raising ISO no longer improves shadow noise. A frame shot at the low end and brightened in RAW matches one shot at the high end, but keeps more highlight headroom. Most modern cameras are close to invariant above ISO 800–1600.
Sources and further reading
- DPReview — What is ISO invariance, and should I care? (ISO as amplification before conversion, read noise, why lowering ISO preserves highlights).
- DPReview — Exposure vs. Brightening (exposure is aperture, shutter and scene light only; ISO is brightening and cannot add information).
- Photons to Photos — Input-referred read noise versus ISO (per-camera read-noise curves and the dual-gain steps).
- Alyn Wallace — Testing the Sony a7 III for ISO invariance (ISO 640 second gain stage; the equal-brightness push test).
- Nature TTL — How to use a histogram for better star photos (peak a quarter to a third from the left; the LCD misleads dark-adapted eyes).
- Lonely Speck — Expose to the right in light pollution (ETTR at night; the better-exposed higher-ISO frame is cleaner).
- Wikipedia — Shot noise and Dark-frame subtraction (√N statistics; what LENR subtracts and why it doubles the time).