Aurora
How to Photograph the Northern Lights: Settings and a Kp Guide
The aurora is the only night-sky subject that moves fast enough to make you change shutter speed during a shoot. A faint green arc on the horizon needs about ten seconds. A curtain rippling overhead needs about one. So learning how to photograph the northern lights means learning two things. The first is deciding whether tonight is worth the drive, which depends on one number (the Kp index) and on where you are on the planet. The second is keeping up with the camera once the sky starts to move. This guide covers both, in that order.
At a glance
- Settings: f/2.8 or your widest, ISO 1600–6400, shutter 0.5–12 s depending on how fast the aurora is moving, white balance about 3500 K, manual focus on a distant light, RAW.
- Forecast: Kp runs 0–9. Under the auroral oval (Tromsø, Fairbanks, Yellowknife) Kp 1–2 is enough. Scotland and the northern US need Kp 5+, and central Europe and the mid-US need Kp 7–9.
- When: the two hours either side of local midnight, on clear, dark nights from September to March in the far north. The equinox months are statistically best.
- Where: a dark northern horizon (southern, in the southern hemisphere), away from town glow.
What you're photographing
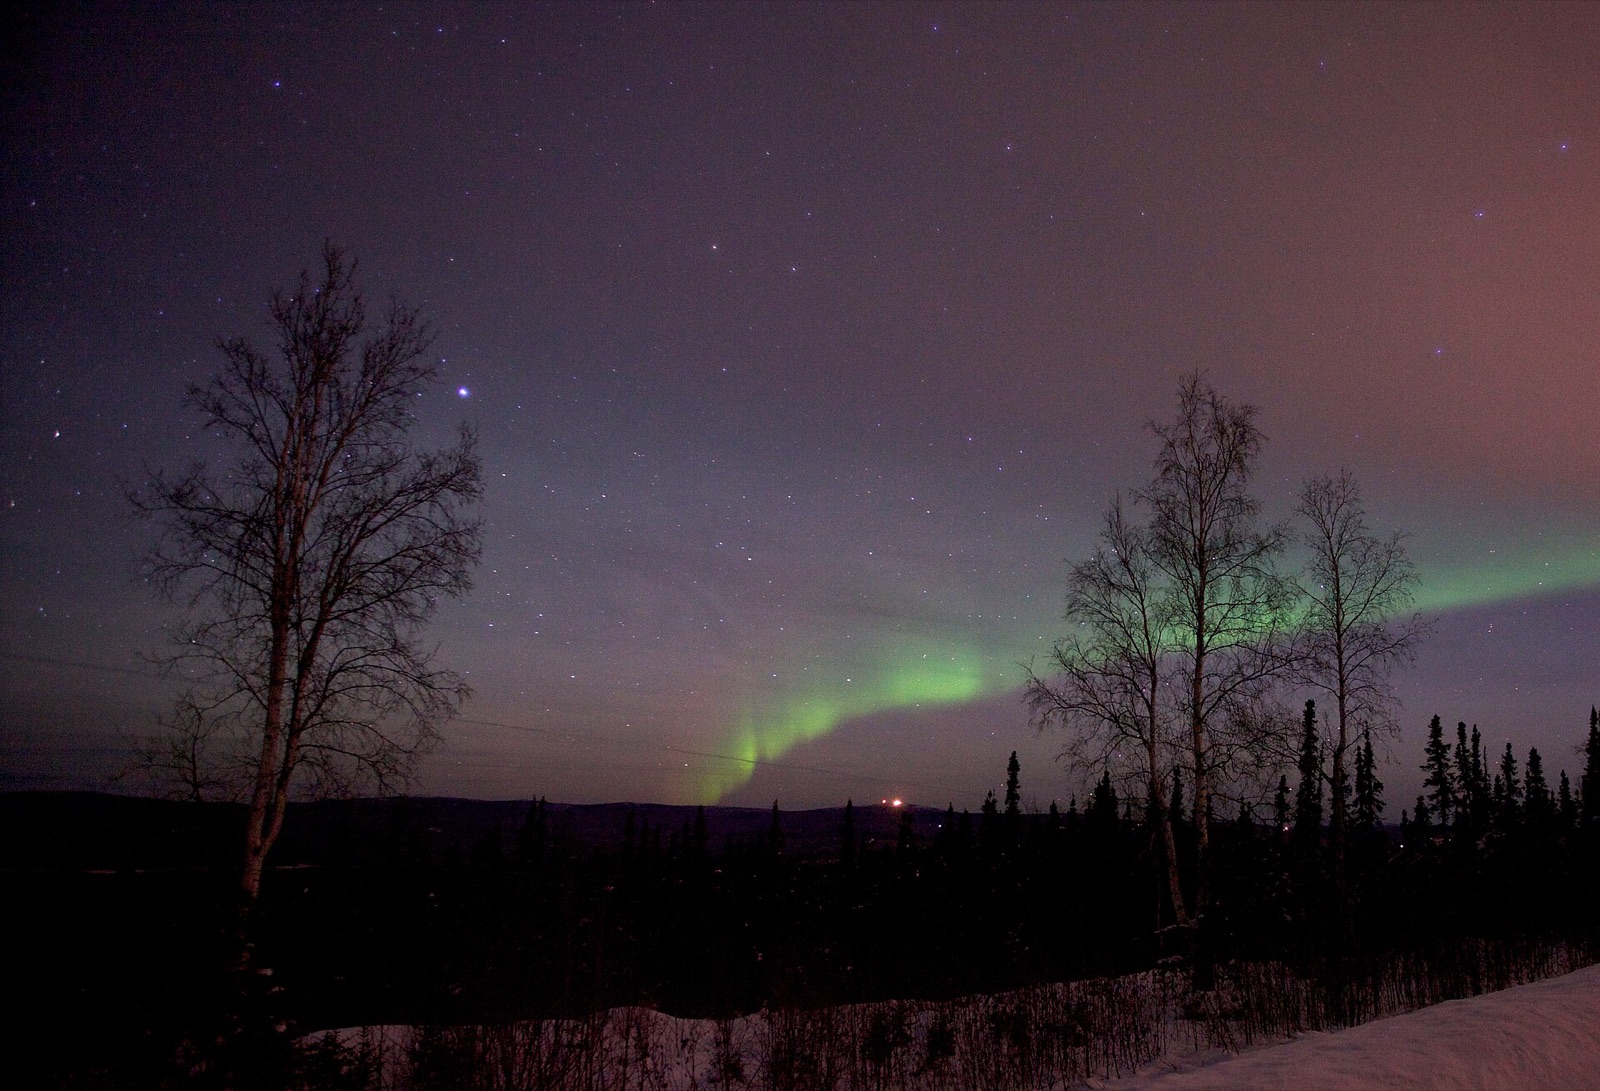
Charged particles from the Sun, steered by Earth's magnetic field, hit oxygen and nitrogen 60–190 miles up. Oxygen glows green at lower altitudes and red higher up, and nitrogen adds blue and purple fringes. All of it forms an oval around each magnetic pole. On a quiet night that oval sits over the Arctic. During a geomagnetic storm it grows toward the equator, so a display that's routine in Tromsø is a once-a-decade event in Paris.
The Kp index explained: reading the aurora forecast
The Kp index is a 0–9 scale of global geomagnetic activity, updated every three hours by NOAA's Space Weather Prediction Center. The edge of the auroral oval sits near 66° magnetic latitude at Kp 0 and moves about two degrees toward the equator for each step up. NOAA's G-scale for storms maps onto the top of it: G1 = Kp 5, G2 = Kp 6, G3 = Kp 7, G4 = Kp 8, G5 = Kp 9.

| Kp needed | Roughly where |
|---|---|
| 1–2 | Tromsø, Abisko, Fairbanks, Yellowknife, Iceland's north coast |
| 2–3 | Reykjavík, Rovaniemi, Anchorage, Whitehorse |
| 4 | Southern Norway, Edinburgh's latitude, Calgary, Edmonton |
| 5 | Scotland, Denmark, the Baltic states, Seattle, Minneapolis |
| 6–7 | Northern England, Berlin, Warsaw, the northern US states |
| 8–9 | Paris, Vienna, northern Italy, the central and southern US. Only in the strongest storms |
Kp is a three-hour average, so it's only a rough guide. On the night itself, watch two live values from the same source. One is the solar wind's Bz, which you want strongly negative (that means south-pointing). The other is the solar wind's speed, and faster is better. A forecast of Kp 4 with Bz at −15 nT is better than a forecast of Kp 6 with Bz near zero. On a night like the second one, people drive out and see nothing.
Still Dark shows NOAA's OVATION aurora forecast for your exact latitude (probability, the direction to look and the estimated height of the glow) and puts an Aurora Alert card on the home screen only when there's a real local chance. Set a reminder from the card.
Best time to see the northern lights, and where to stand
In the Arctic the season runs roughly September to late March, when the nights are dark enough, and the weeks around the equinoxes are statistically the most active. Aurora can show up any time after dark, but the two hours either side of local magnetic midnight (about 10 pm to 2 am) are the most likely, so plan for a late night, not an early one.
The sky has to be clear. The aurora is above the clouds, and even thin cloud blurs it until you can't see it. A forecast that shows cloud layers helps more here than one that just says "cloudy", and the observing weather in the app shows layers. If you're in the north, find a dark northern horizon, and get away from town light in that direction first. If the storm is strong the aurora will be overhead and all around you, and the horizon matters less. The Moon is less of a problem than you'd expect. A bright aurora still shows well in moonlight, unlike the Milky Way, and the moonlight lights up your landscape. A faint arc is easier to see without the Moon.
What gear you need
- A fast wide lens, 14–24 mm at f/1.4–f/2.8. The aurora can fill the sky, so you'll want the width.
- A tripod and a remote or the 2-second timer.
- Spare batteries, kept warm in an inside pocket. Cold halves their life, so bring more than you think you need.
- A headlamp with a red mode, and gloves you can work the camera in.
- Everything for the cold. You'll be standing still for hours. Our cold-weather kit list covers what we carry.
Northern lights camera settings
- Manual, RAW, stabilisation off, long-exposure noise reduction off.
- Aperture wide open, f/2.8 or faster, because there isn't much light.
- ISO 1600–6400. Start at 3200. Drop to 1600 for a bright display, and go up to 6400–8000 for faint arcs.
- Shutter by activity. This is the setting you'll change all night:

| Aurora | Shutter | ISO | Why |
|---|---|---|---|
| Faint, static arc or glow | 8–12 s | 3200–6400 | Gather light. Nothing is moving. |
| Bright, slowly moving bands | 3–8 s | 1600–3200 | Keep the structure without smearing. |
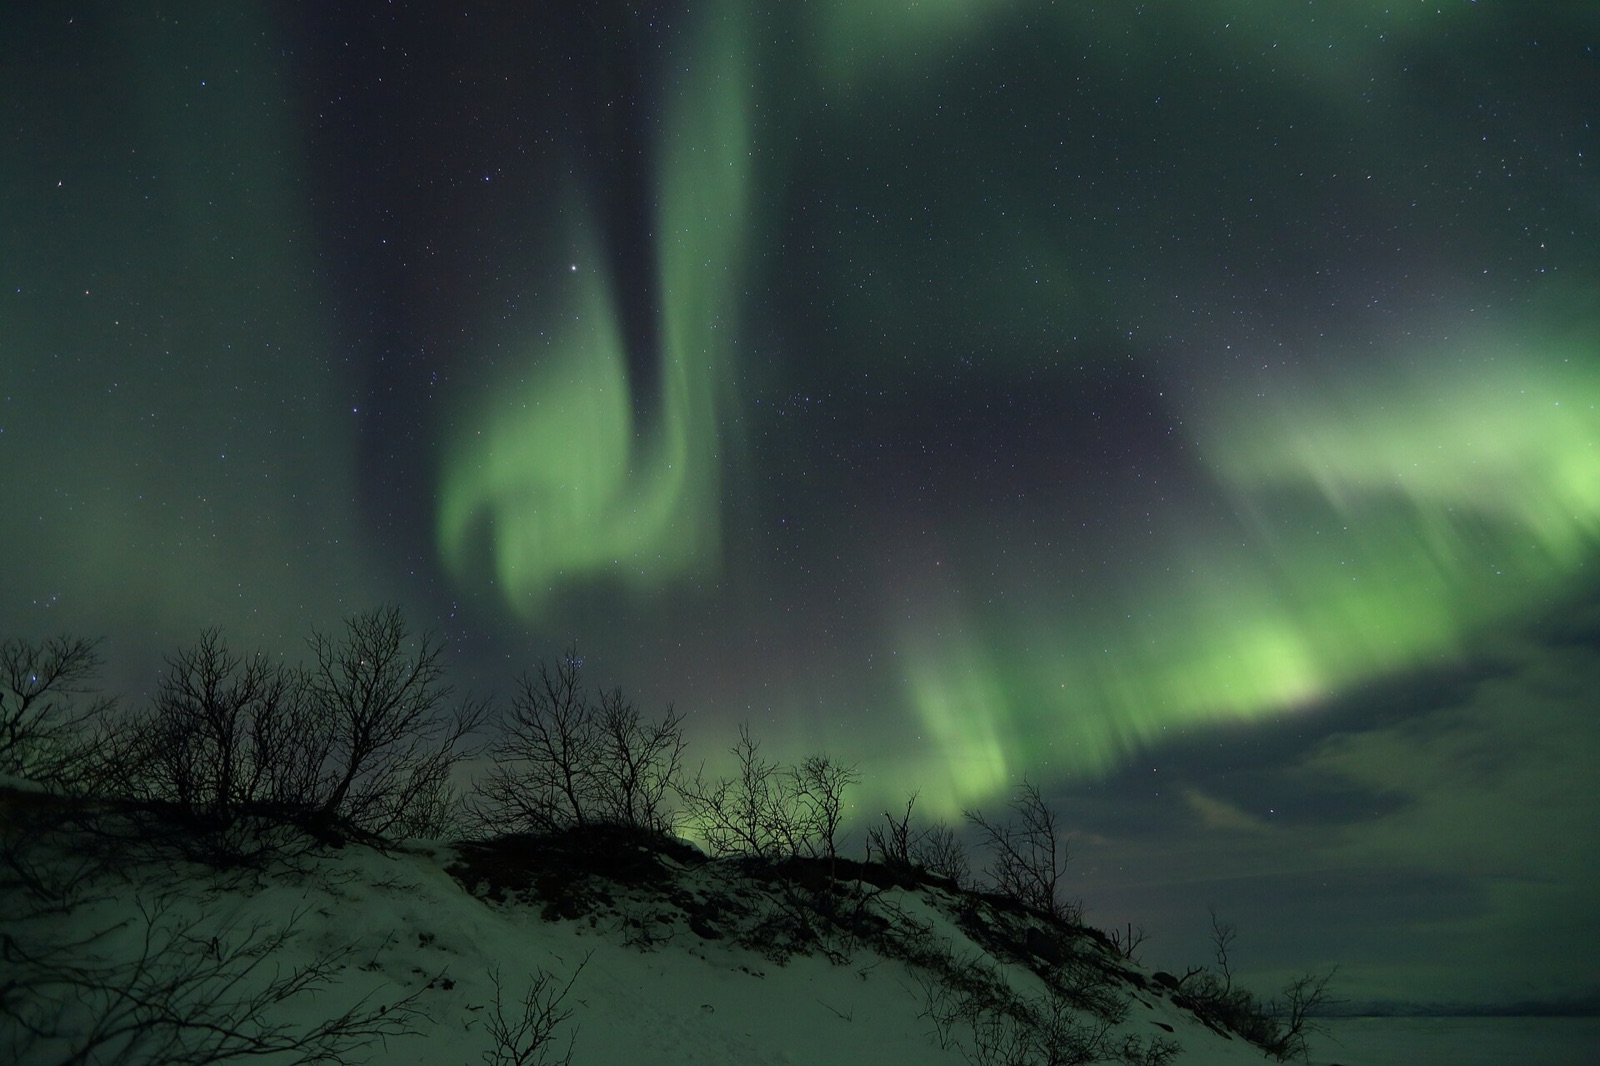
| Fast curtains, rays and coronas | 0.5–3 s | 1600–3200 | Freeze the rays. Longer exposures blur the detail. |
- White balance around 3500 K. Auto tends to push the green toward yellow. Set it yourself and adjust in RAW later.
- Manual focus on a distant light or a bright star, at 100% magnification. Check it again after an hour, because focus can shift as the lens gets colder. Our guide to focusing at night has the full routine.
- Use a 2-second delay or a remote, and watch the histogram. A bright aurora clips the green channel before the others, so keep the peak away from the right edge.
Composition
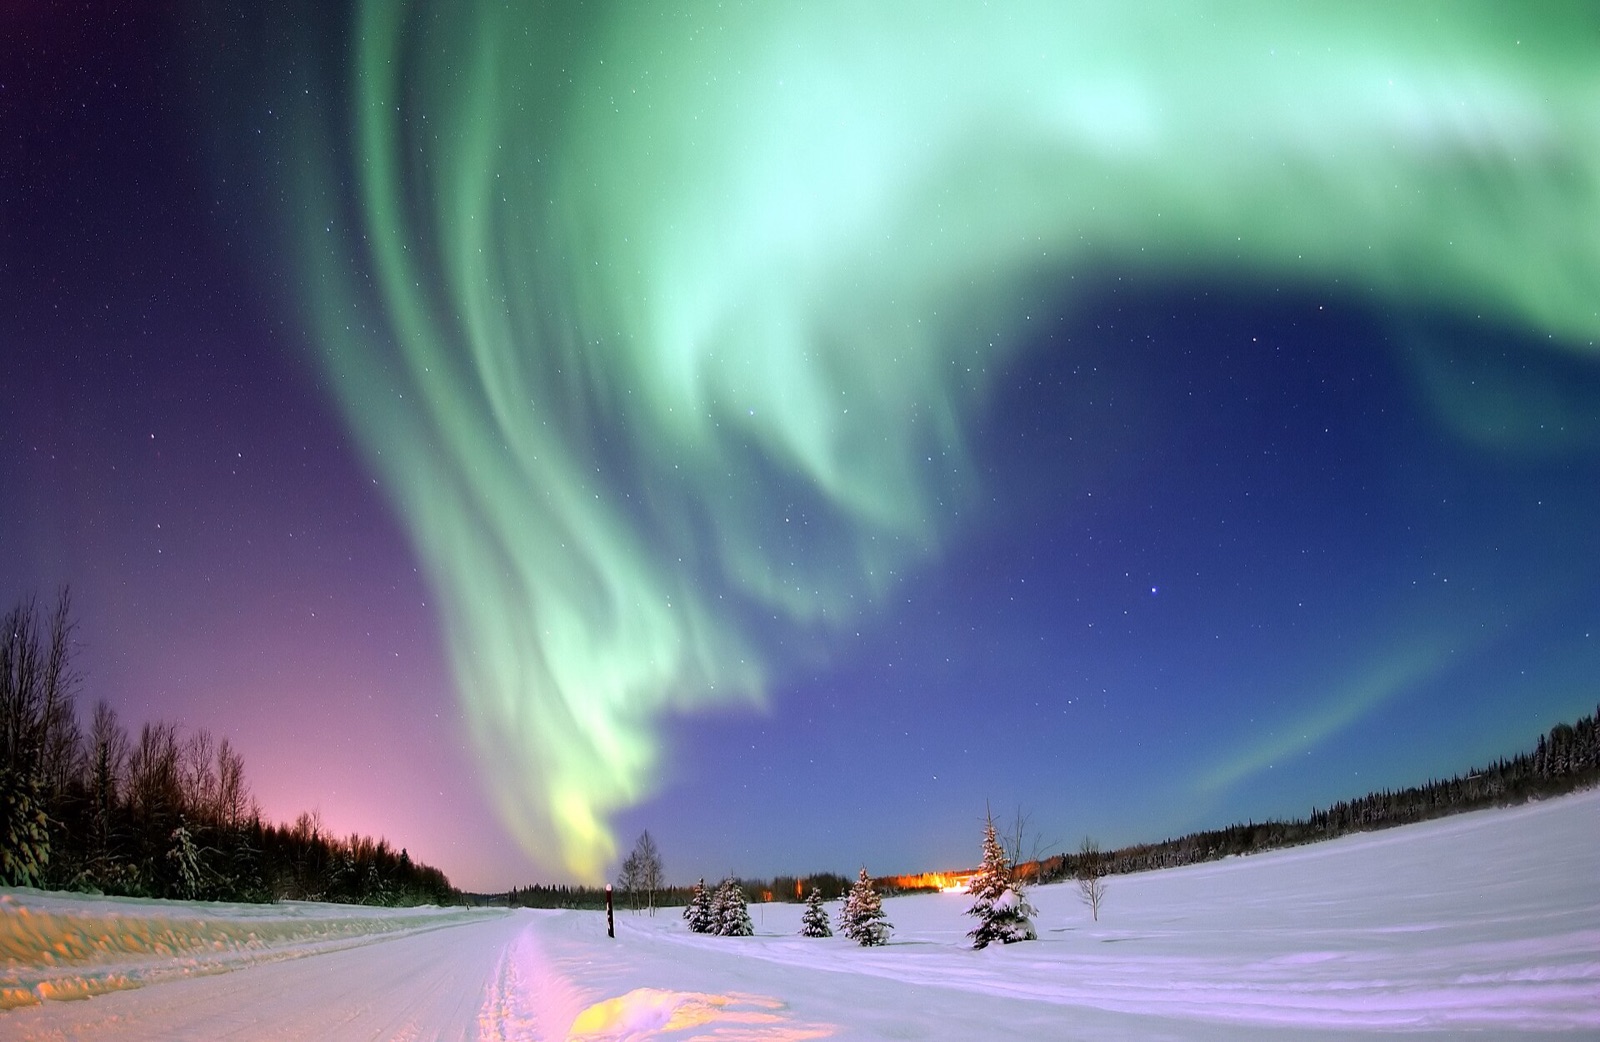
An aurora photo is a landscape photo, so find a foreground. A frozen lake for reflections, a cabin with a warm window, a lone tree or a mountain ridge will all work. Shoot vertical when the curtains stand up overhead, and shoot a panorama of three or four frames when the arc spans the whole horizon. Put a person in the frame for scale. The aurora is enormous, and a photo doesn't show that unless there's something in it to compare.

Time-lapse
The aurora moves, and a time-lapse shows that movement in a way a still photo can't. Keep the settings fixed (don't let ISO or shutter vary), shoot 2–5 second frames continuously with a one-second gap, and assemble at 24 frames per second. Twenty minutes of sky becomes 25 seconds of film. LRTimelapse or any video editor will put it together.
How to photograph the northern lights with a phone
Recent phones do well with the aurora. Put the phone on a tripod, use night mode (3–10 s), turn off the flash and don't use digital zoom. Some phones now have a manual or "pro" mode where you set ISO and shutter directly. If yours has one, use it and set it the same way as above.
Common mistakes
- Too long a shutter on a fast display, which blurs the rays into a green haze. Shorten it as soon as the sky starts to move.
- Autofocus in the dark.
- A fogged lens, from breathing near it or from bringing a cold camera into a warm car.
- Staying home on a Kp 3 night under the oval, where Kp 3 is a good show.
- Driving out on a Kp 7 forecast into cloud. Check the cloud forecast as well as the aurora forecast.
FAQ
What Kp do I need to see the northern lights?
It depends on your latitude. Under the auroral oval (Tromsø, Fairbanks) Kp 1–2 will do. Iceland and Rovaniemi need Kp 2–3, Scotland and the northern US need Kp 5 and up, and central Europe needs Kp 7–9. The table above has more places.
What are the best camera settings for the northern lights?
Start at f/2.8 or wider, ISO 3200, 4 seconds, white balance 3500 K, manual focus on a distant light. Then shorten the shutter as the aurora speeds up and lengthen it for a faint glow.
Why do the northern lights look green in photos but white to the eye?
Your eyes can't see colour well in the dark, and the camera can. The green is the real colour of the oxygen emission.
Can you photograph the northern lights during a full Moon?
Yes, if the display is bright, and the moonlight will light the landscape for you. A faint arc will be hidden by it.
Sources and further reading
- NOAA Space Weather Prediction Center — Tips on viewing the aurora (the Kp scale and the auroral oval).
- Hello Aurora — Kp index by location.
- Capture the Atlas — How to Photograph the Northern Lights (shutter by activity).
- Visit Norway — How to photograph the northern lights.