Milky Way
How to Photograph the Milky Way: Settings, Gear and Planning
If you're wondering how to photograph the Milky Way, the camera settings are simple and almost the same for everyone. You can learn them in one evening. Most Milky Way photos that come out as a muddy grey smear were taken with the right settings on the wrong night or in the wrong place. To get a bright arch you need a dark sky, the right month, a night without the Moon, and the hour when the galactic core is highest. This guide covers both parts. First the planning you do before you leave home, then the settings you'll use every time you shoot.
At a glance
- Settings: widest aperture (f/2.8 or faster), ISO 3200–6400, 10–25 seconds, white balance ~4000 K, manual focus on a bright star, RAW.
- Season (northern hemisphere): the core is visible February to October, and the best months are May to August. Southern hemisphere: late January to November, best April to August.
- Moon: within about five days of new Moon. A bright Moon is the most common reason a Milky Way night fails.
- Place: Bortle class 1–4 skies, with no city glow on the horizon in the direction of the core (south in the north, overhead in the south).
- Shutter limit: use the NPF rule, not the 500 rule, on modern high-resolution sensors.
What you're actually photographing
The band of light is the disc of our own galaxy, seen edge-on from inside it. When people talk about the Milky Way in a photograph they nearly always mean the brightest part with the most detail, the galactic core, which is in Sagittarius and Scorpius. From mid-northern latitudes the core never climbs very high, about 25–35° at best, so you're always looking at it low over the southern horizon. That's why light pollution in that one direction matters more than how dark the site is overhead. From the southern hemisphere the core passes overhead and the whole arch is easier to shoot.
Best time to photograph the Milky Way: season, Moon, hour
The core is only above the horizon at night for part of the year. In the northern hemisphere it first shows before dawn in late February or March, is up all night by June and July, and sets in the evening by October. The southern hemisphere's season runs from late January to November, with the best nights from April to August.
Within the season, pick your nights by the Moon. Anything past first quarter washes out the core. The darkest nights are in the week centred on new Moon. You can add a few nights on either side, when the Moon has set before the core rises or rises after the core sets. The best hour changes through the season. Early on, the core rises after midnight and you shoot from 1 am to dawn. By mid-summer it's up at dusk and highest around midnight. Late in the season you only get an hour or two after astronomical dusk.
Still Dark does this arithmetic for you. Best Milky Way nights ranks the next 45 nights for your location on hours of true darkness, Moon interference, how high the core climbs and the cloud forecast. Tap a night and the planner opens on it, with the core's azimuth and altitude drawn through the evening.
Where to photograph the Milky Way: dark skies and a clear horizon
The core is faint. Under a Bortle 8–9 city sky you can't see it. Under Bortle 5 you can just make it out. Under Bortle 1–3 it's bright enough to cast shadows. Use a light-pollution map (the planner's sky-quality layer shows the Bortle class for any spot) and look for the darkest sky in the direction of the core, which in the north means south-southeast to southwest through the night. A site that's dark overhead and orange to the south is a poor Milky Way site, even if it looks good on the map.

.jpg)
Then check the horizon. A ridge 10° high in the south hides the best part of the season's core. The planner's 3D terrain view shows the skyline as it looks from your spot, so you can check it at home and not find out at 1 am.
What gear you actually need
You need less than you'd think, and the lens matters more than the body.
- A camera you can set manually. Any interchangeable-lens body from the last decade will do. Full-frame sensors gather more light, but a crop sensor with a fast lens works.
- A fast, wide lens: 14–24 mm at f/1.4–f/2.8. A 20 mm f/1.8 and a 14 mm f/2.8 are the usual choices.
- A sturdy tripod and a remote release, or the 2-second timer.
- A red headlamp, spare batteries (they drain fast in the cold), a lens cloth and, in humid places, a lens warmer to keep dew off.
- Optional: a star tracker, which lets you expose for minutes instead of seconds and drop the ISO. Try this once you're comfortable with the basics.
How to photograph the Milky Way: camera settings step by step
- Manual mode, RAW. Turn off long-exposure noise reduction (it doubles every shot's time) and lens stabilisation. Set the drive to a 2-second delay or use a remote.
- Aperture: wide open, or a third of a stop down if your lens is soft in the corners. f/2.8 or faster.
- ISO: 3200 to 6400. Modern full-frame sensors are fine to 12,800 in the dark, and crop sensors usually look best at 1600–3200. High ISO doesn't add much noise. It shows the noise that's already there. A well-exposed ISO 6400 frame looks better than an underexposed ISO 1600 one.
- Shutter: 10 to 25 seconds, set by the NPF rule below. Any longer and the stars turn into dashes.
- White balance: around 4000 K. Auto usually goes orange under light pollution. You can change it later in RAW, but a fixed value keeps a sequence consistent.
- Focus manually on a bright star. Switch to manual focus, magnify live view on the brightest star or a distant light, and turn the ring until the point is smallest. Then tape the ring so it can't move, or note the position. Don't rely on the infinity mark on the lens, because it's rarely exact.
- Take a test frame and read the histogram. The hump should sit about a third of the way from the left, clear of the edge. If it's against the left edge, raise the ISO. If the stars look bloated, close the aperture a little.
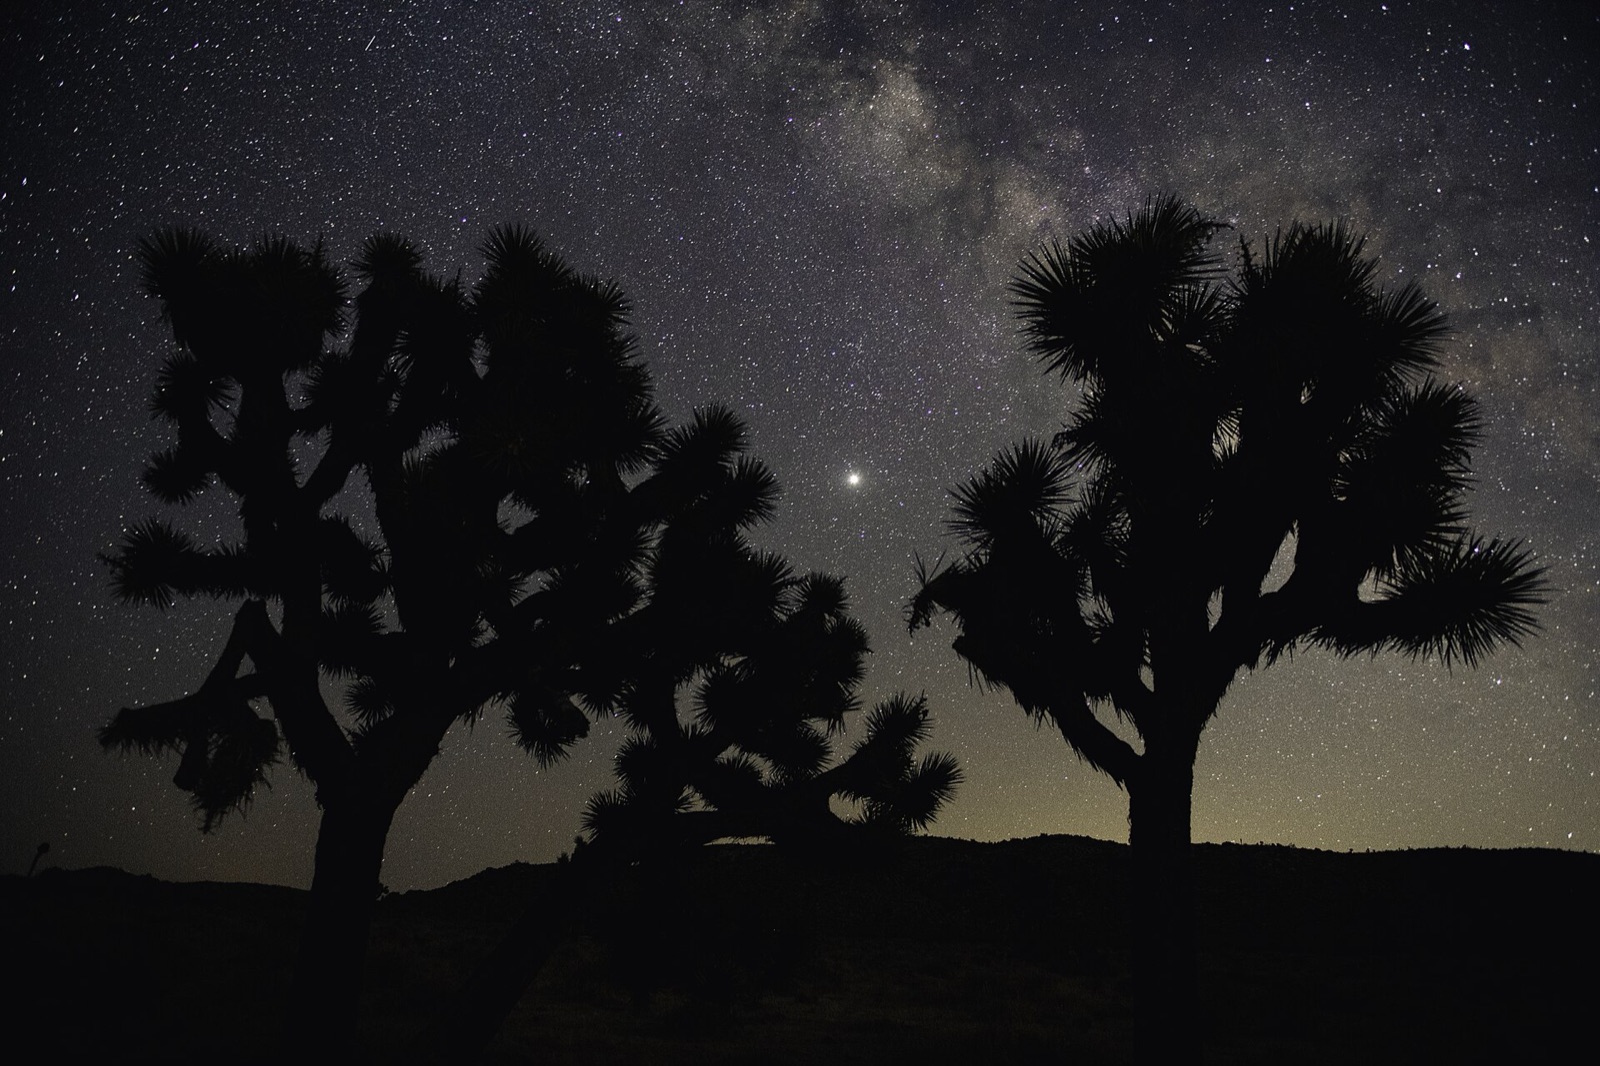
.jpg)
How long can you expose? 500 rule vs NPF rule
The Earth turns, so stars drift across the sensor during a long exposure. Two rules estimate the longest shutter you can use before that drift shows.
The 500 rule is the old one: seconds = 500 ÷ (crop factor × focal length). At 14 mm on full frame that's 35.7 s, and at 20 mm it's 25 s. It was worked out for film and low-resolution sensors. On a modern 24–60 megapixel camera the stars come out visibly stretched. We think that's fine for Instagram but not for prints.
The NPF rule accounts for the aperture (N), the pixel pitch (p, in micrometres) and the focal length (f, in mm). The simplified form:
t = (35 × N + 30 × p) ÷ f
For a 24-megapixel full-frame camera (pixel pitch about 5.9 µm) with a 14 mm f/2.8 lens: (35 × 2.8 + 30 × 5.9) ÷ 14 = (98 + 177) ÷ 14 ≈ 19.6 seconds, against the 500 rule's 35.7. A 45-megapixel body (pitch ~4.4 µm) drops it to about 16 s. The complete NPF formula adds a term for the star's declination and a "k" factor from 1 (pinpoint stars) to 3 (acceptable for web use):
t = k × (16.9 N + 0.10 f + 13.7 p) ÷ (f × cos δ)
In practice, start at the simplified NPF time, look at a star at 100% on the back screen, and shorten the exposure if the star is a dash. If the frame then comes out too dark, open the aperture, raise the ISO or use a tracker. Our 500 rule vs NPF rule guide covers the two rules in more detail.
Composition and the arch
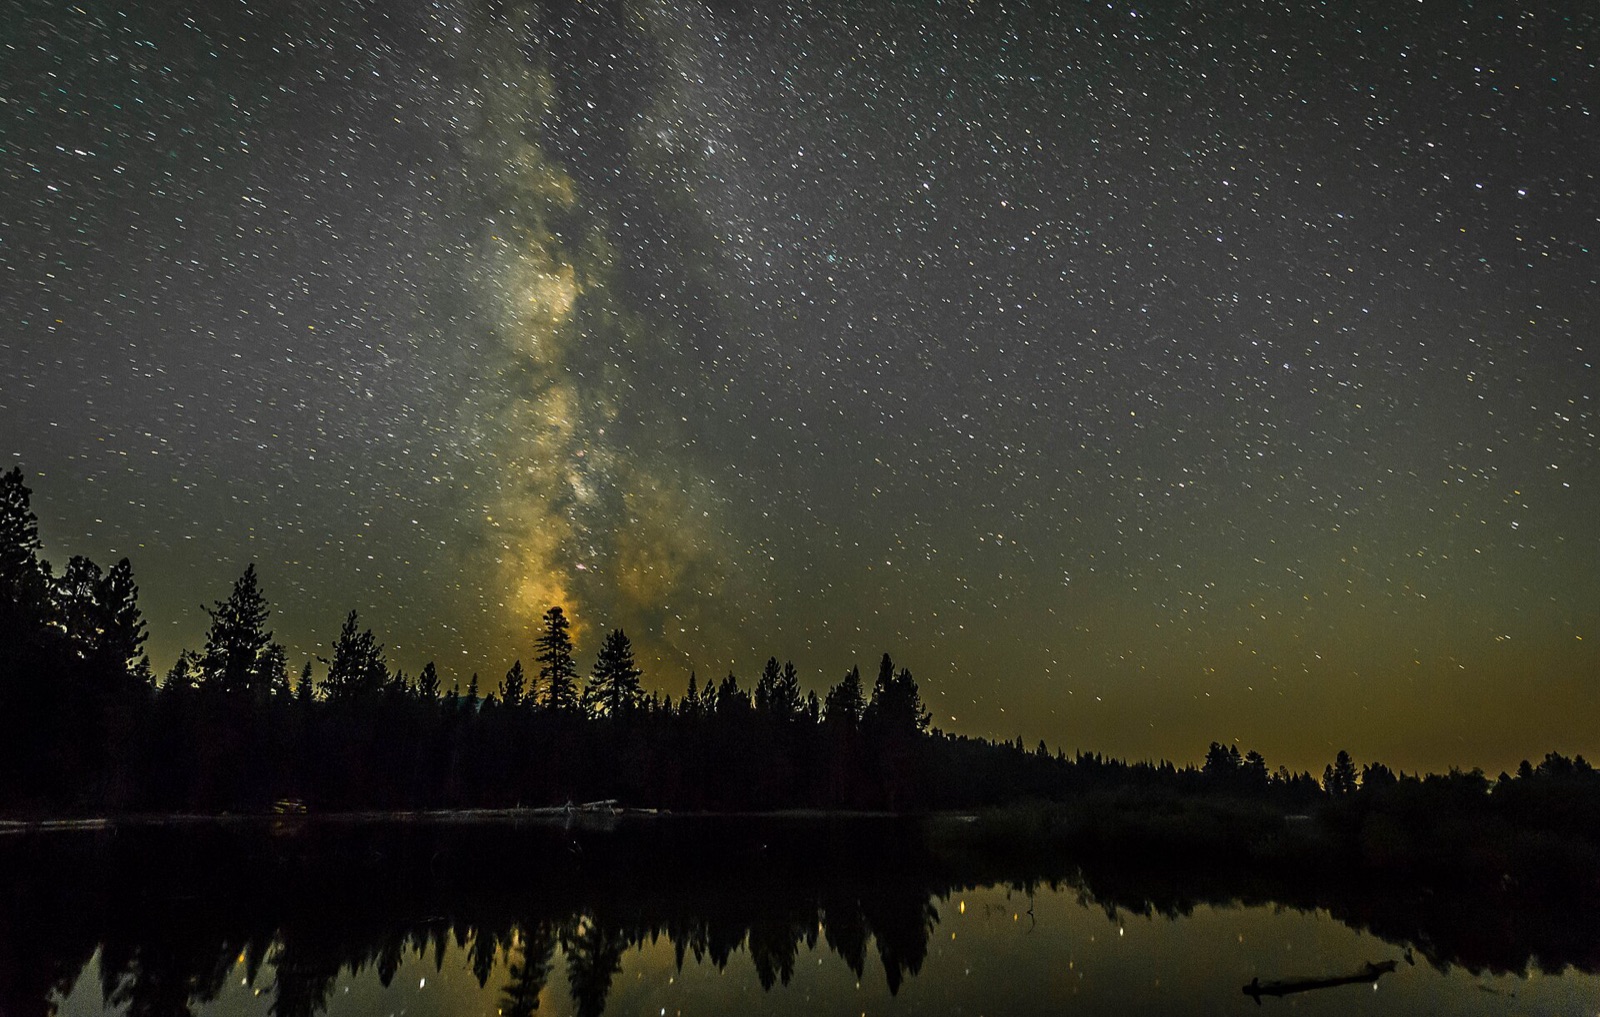
The picture needs a foreground. Silhouetted trees, a lone building, a road leading in, water for a reflection or a person with a headlamp all work. You want something that gives scale and shows where you were. Put the brightest part of the core on a third of the frame, not dead centre. For the full arch, shoot a panorama of 6–12 vertical frames at 20–24 mm, overlapping by a third, all at the same manual settings, and stitch them later (the Milky Way arch panorama guide covers the whole workflow). Early in the season the arch is low and wide. Late in the season it stands up vertically.
.jpg)
Editing and stacking
A single frame doesn't need much editing. Set the white balance to taste, lift the shadows a little, add a gentle S-curve for contrast, apply noise reduction to the sky only, and go easy on dehaze. Don't push saturation. The core is a subtle brown and blue-white, and everyone can tell when it's been turned purple.
For cleaner results, shoot 8–20 identical frames and stack them. Sequator (Windows, free), Starry Landscape Stacker (Mac) or Siril align the stars, average away the noise and keep the foreground from a single frame. It's slow the first time you do it, but after a fast lens it's the biggest improvement in quality you can get.
Common mistakes
Nearly every question we get about how to photograph the Milky Way turns out to be one of these.
- Going on the wrong night. The Moon was up, or the core had already set. Check both before you drive anywhere.
- Autofocus. The camera hunts and can't lock on, and everything comes out soft. Always focus manually on a star.
- Too long a shutter, from trusting the 500 rule on a high-resolution sensor.
- Underexposing to "avoid noise." Noise shows most in the shadows, so expose to the right of the histogram.
- Ignoring the horizon. A dark site with a lit town exactly south is a bad site for the core.
- Dew. The lens fogs an hour in and every frame after that is soft. A lens warmer, or a hand-warmer strapped to the barrel, fixes it.
FAQ
What are the best Milky Way camera settings for a beginner?
f/2.8 (or the widest your lens goes), ISO 3200, 15 seconds, white balance 4000 K, manual focus on a bright star, RAW. Take a frame, read the histogram, and adjust from there.
Can I photograph the Milky Way with a phone?
Under a really dark sky, yes. Put the phone on a tripod, use night mode or a manual-camera app at the longest exposure it allows (10–30 s), and lock focus at infinity. It won't match a dedicated camera, but you'll get the core.
Why does the Milky Way look like a grey haze in my photos?
Usually light pollution or the Moon, sometimes underexposure. Check the Bortle class of the site, the Moon phase for the night, and whether the histogram was clear of the left edge.
Which direction is the Milky Way?
In the northern hemisphere, southeast early in the season, south in mid-season, southwest late. In the southern hemisphere the core passes overhead. The planner draws the core's path across the map for the night, with times.
Is a star tracker worth it for Milky Way photography?
Once you've made a few good untracked frames, yes. A tracker lets you expose for 2–4 minutes at ISO 800, which gives much cleaner detail in the core. You then need a separate untracked frame of the foreground to blend in.
Sources and further reading
- Capture the Atlas — How to Photograph the Milky Way (settings, season, the 500 vs NPF worked example).
- AstroBackyard — Milky Way Photography Calendar and The 500 Rule.
- Frédéric Michaud, Société Astronomique du Havre — the NPF rule; PetaPixel's explanation.
- National Parks at Night — A new rule for the sharpest stars.