Technique
Foregrounds for Night Photography: Light Painting, Low-Level Lighting, Blue-Hour Blends and Moonlight
A photo of the Milky Way with nothing under it only shows that the sky was clear and the camera worked. Put a tree, a ridge or a lake under the same sky and the viewer can tell where you were standing, which makes a better picture. The sky is the easier part. The foreground is the part you choose, and at night it's close to black unless something lights it.
There are four ways to get a foreground that shows. You can let the Moon light it, light it with low level landscape lighting (a dim constant lamp on a stand), paint it with a torch during the exposure, or expose it separately from the same tripod position and blend. A silhouette is a fifth option, and it's often the best one.
At a glance
- Moonlight: a crescent to first-quarter Moon behind or beside you lights the land and leaves the Milky Way visible. f/2.8, 10–30 s, ISO 400–1600 by phase.
- Low-level lighting: a small LED panel at a few per cent power, 65–165 feet away, off to one side, left on for every frame. The light is even and repeatable, and it works for timelapses.
- Light painting: a torch swept from the side in short feathered bursts. It looks dramatic, but it's hard to repeat and easy to overdo.
- Blending: a blue-hour frame, or a 2–8 min ISO 400–800 frame at f/4–5.6, from the same tripod position on the same night. Say it's a blend when you show it.
- First: scout in daylight, drop a GPS pin, and know where the core will sit over your foreground at what time.
Why the foreground matters so much
The core rises in the same place for everyone at a given latitude and season. What makes one image different from ten thousand others is the shape in front of the core, how that shape is lit, and whether it's sharp. You decide all of that on the ground, usually before dark. The problem is exposure. The sky needs f/2.8, 10–20 s and ISO 3200–6400, and starlight doesn't light anything on the ground that brightly. So you either add light until the land matches the sky's exposure, or you give the land its own longer exposure and combine the two.
1. Moonlight on the landscape
Moonlight matches the sky in colour, and you can plan which direction it comes from. The question is how much moonlight you can have before it washes out the sky.
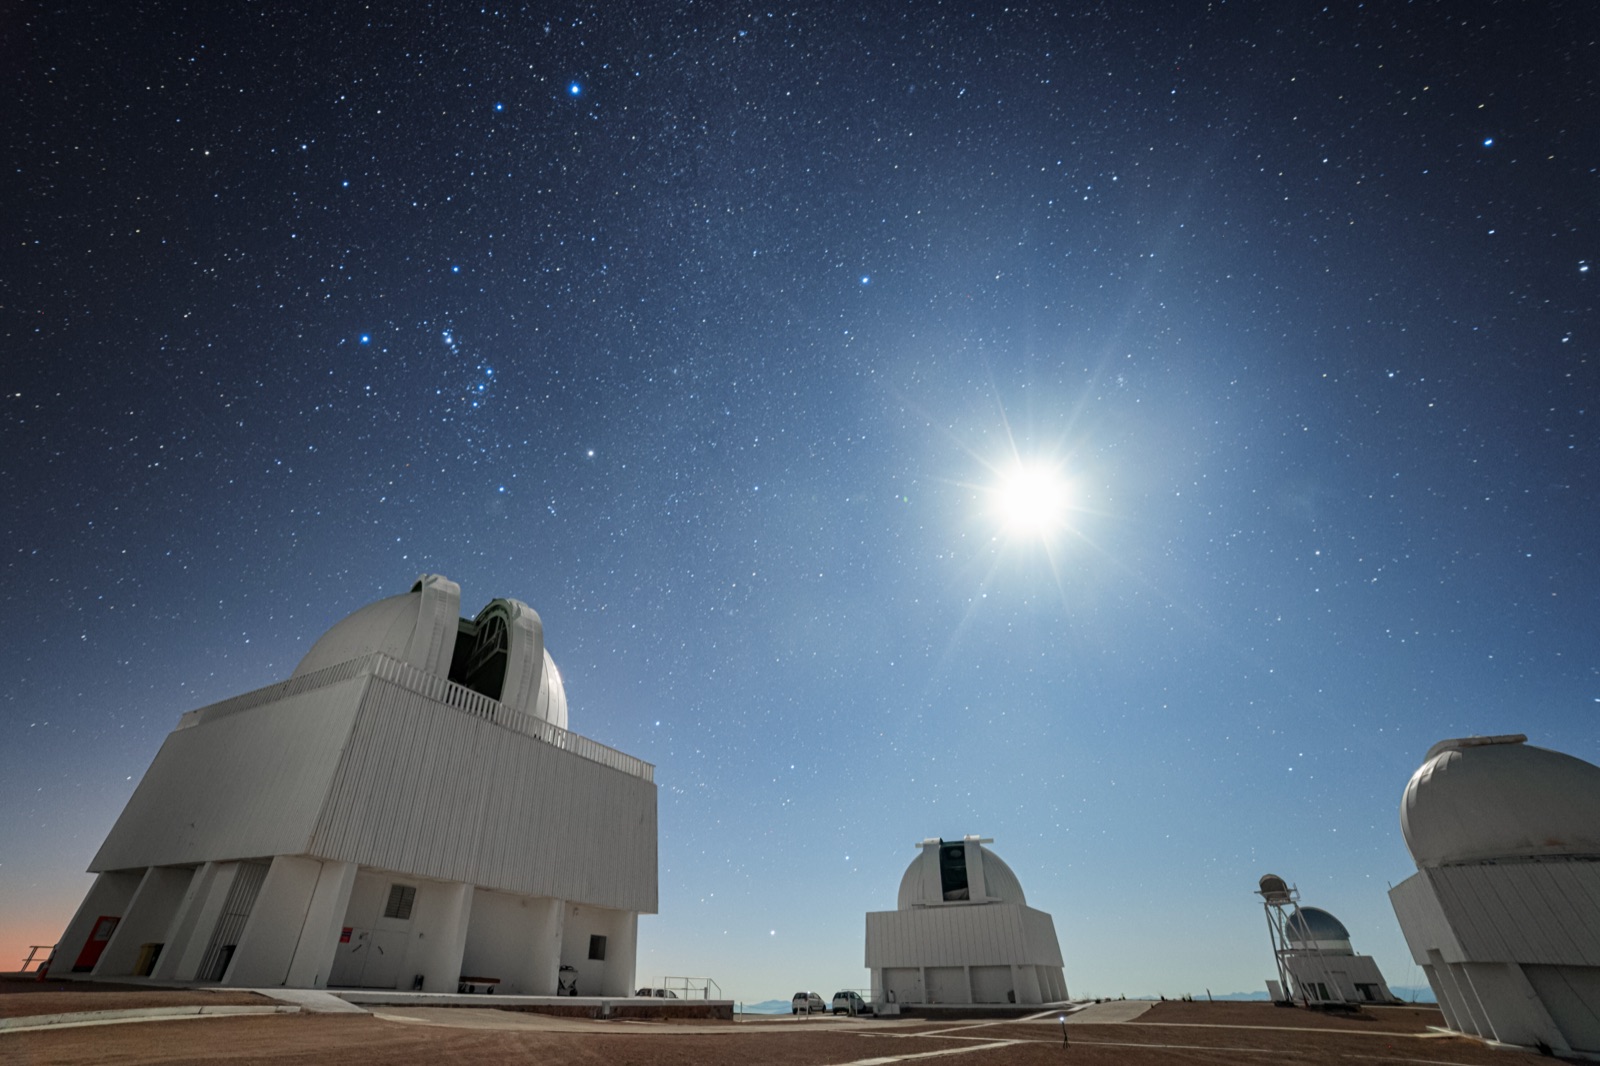
- Crescent to first quarter, about 15–25% illuminated, behind or beside the camera. That's enough to give the land texture and shadows, and the Milky Way stays visible with a little contrast lost. It's the best balance you can get from natural light. You don't get long, though, because the Moon should be low or setting within an hour or two of the shot.
- Gibbous to full: the landscape looks like cool daylight, the sky turns deep blue with only bright stars, and you can't see the Milky Way. Shoot it as a moonlit landscape and don't try for the Milky Way. Within about three days of full, ISO 400 at f/4–5.6 gives the best noise-to-exposure trade-off and multi-minute exposures are possible.
- Keep the Moon out of frame, ideally more than 90° from the lens axis, or you get flare and a white disc.
The settings depend on the phase. At f/2.8, a thin crescent needs about 30 s at ISO 1600, first quarter 15–20 s at ISO 800, and full Moon 10–15 s at ISO 400. Expose for the land and the sky will come out about right. There's more on each phase in the Moon phases guide.
In the Still Dark Planner, the Moon direction line on the map shows where the light comes from at any hour, and the Moon's altitude curve on the timeline shows when it drops low enough to stop washing out the sky. The Sun & Moon card gives phase, % illuminated and moonset. Moon Details gives the same for any date, so you can pick the night a 20% crescent sets an hour after astronomical dark.
2. Low-level landscape lighting (LLL)
Low level landscape lighting, developed and documented by Wayne Pinkston and Royce Bair, uses a small, very dim, continuous LED panel on a stand where you'd otherwise wave a torch. You set it once, leave it on for the whole exposure or the whole night, and never touch it. The panel runs at a few per cent of its output, often 1–5%, and if the lowest setting is still too bright, a white handkerchief over the front dims it further. The target on the land is roughly three to four times starlight plus airglow and below a quarter Moon, about 0.01 lux. Because nothing changes from frame to frame, LLL is the only artificial method that works for stacking, panoramas, timelapses and groups sharing a scene. We also think it's the only artificial method that gives pictures you'll still like in ten years.
Distance and the inverse-square law
Light from a small source falls off with the square of the distance. If you double the distance, the land gets a quarter of the light, which is two stops less. That's why the panel goes 65–165 feet from the subject rather than 15 feet. From that far away the near and far edges of the foreground get nearly the same light and it looks like moonlight. Up close you get a hot spot. Raising the panel on a 6–10 foot stand helps for the same reason. Set the distance for evenness and the dimmer for brightness.
Angle and colour
- From the side, 45–135° off the camera axis, so the light crosses the surface at a low angle and shows texture. Never light from the camera position, because that looks like a flash.
- Warm, about 3200 K, to look like moonlight against a sky white-balanced around 3800–4200 K. Use neutral 4000–4500 K if you want the ground to match the sky exactly. Avoid uncorrected 5600 K daylight LEDs. Cold blue rock under a warm Milky Way is the most common sign that a foreground was lit.
- Feather the beam. Aim just past the subject so it's lit by the edge of the beam, not the centre.
Etiquette
Ask before switching on if other photographers are within sight, because your light lands in their frames. Switch off between sequences. Keep it out of the eyes of wildlife. Constant dim light is less disruptive than a flashing torch, but it's still light. Check the rules as well. Several US national parks, including Arches, Canyonlands and Grand Teton, prohibit artificial light on landscapes or rock formations and allow it only for route-finding. Most other public land has no such rule. Look up the specific park before you go.
3. Light painting at night
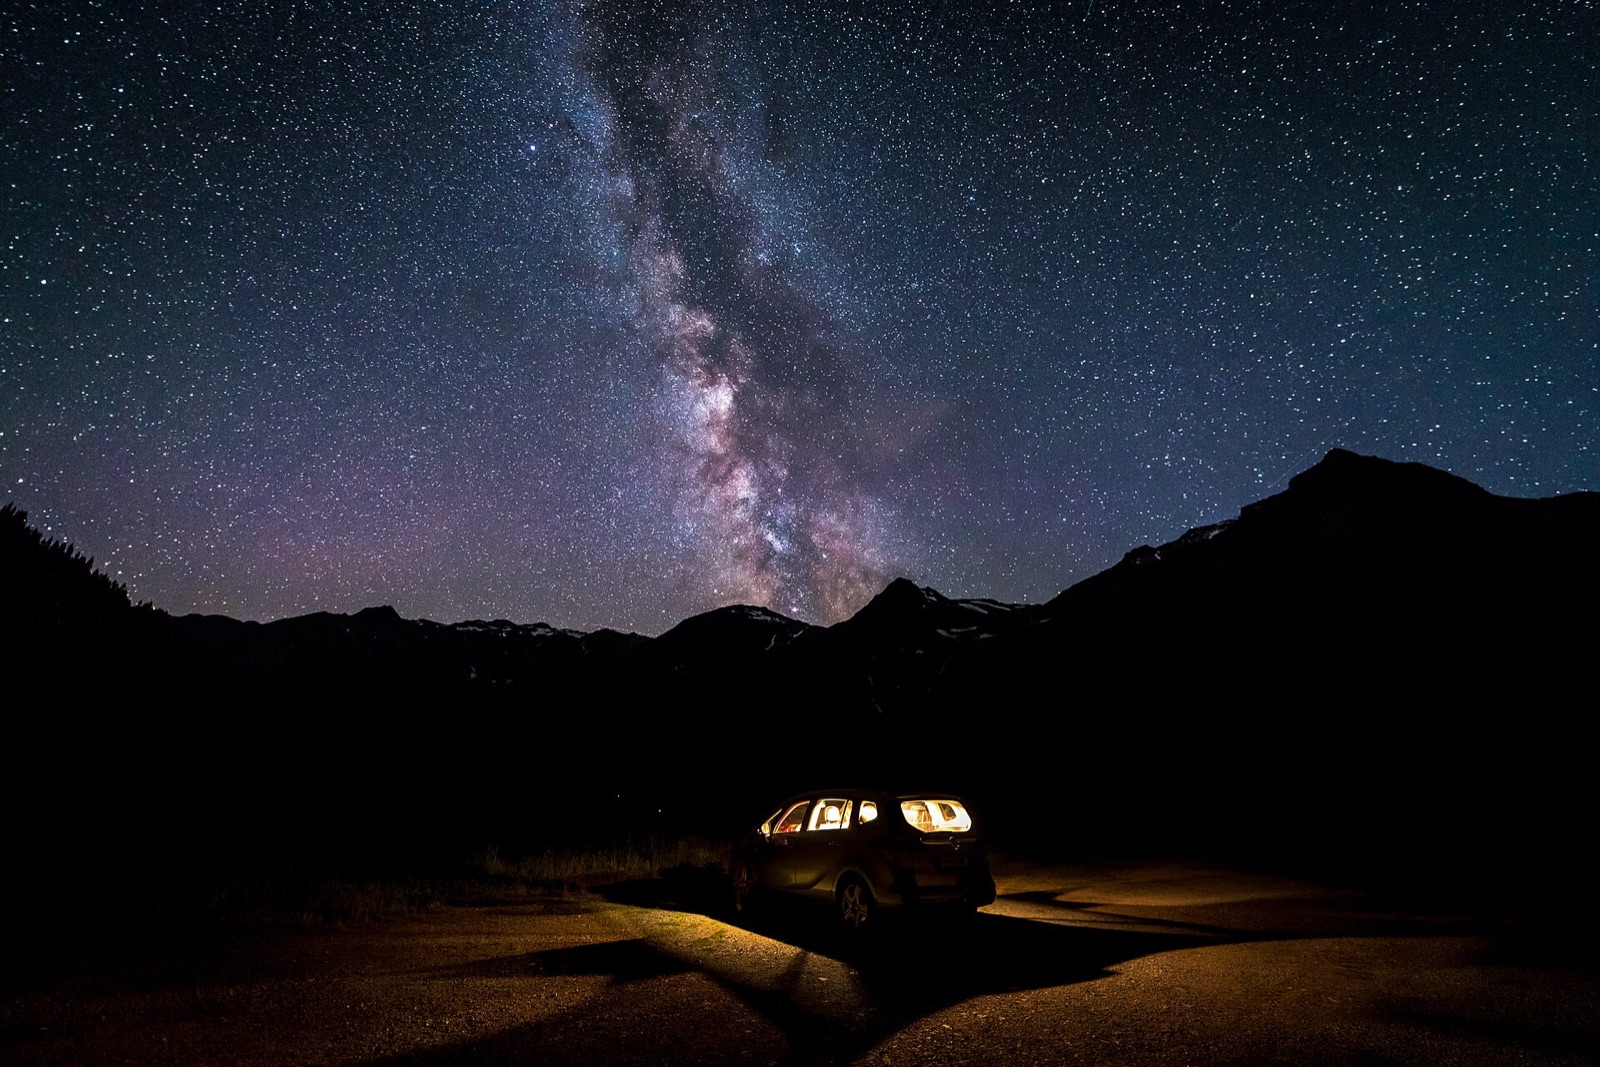
A torch swept across the scene while the shutter is open was the standard technique for a decade and needs no extra kit. Stand well off to one side of the camera, start the exposure, and sweep the beam in bursts of one to three seconds, keeping it moving and feathering the edge across the subject. A 30 s, ISO 3200 frame needs far less light than you think. Check the frame and add a second if you need it. Warm light (a tungsten torch, or an orange gel on an LED) looks like firelight, and cool white looks like a floodlight. Neither looks like a natural night scene.
.jpg)
That's the limit of light painting in night photography. It gives a "painted" look, bright and contrasty with hot spots and hard shadows. You notice the technique before you notice the scene, which is why images from the 2010s already look dated. No two sweeps are identical, so it doesn't work for stacks, panoramas and timelapses, and it shines bright light across a site that other people came to because it's dark. Use it alone, on a small close subject, for one frame. Otherwise use LLL.
4. Exposure blending: blue hour and long low-ISO frames
- The blue-hour blend. Set up and compose before sunset. In nautical twilight, roughly 40–70 minutes after sunset at mid-latitudes, shoot the foreground at base ISO, f/8, a few seconds. Do not touch the tripod. When the core arrives, shoot the sky and blend along the horizon. The foreground is clean and sharp, lit by the sky in a cool blue that looks good under stars. Because both frames come from the same spot on the same night, it's a fair picture of the place. It can look slightly unreal, though, because nobody ever sees twilight on the land under a dark sky.
- The long low-ISO frame. After the sky frames, without moving anything, refocus on the foreground, stop down to f/4–5.6 for depth of field, drop to ISO 400–800 and expose 2–8 minutes. Starlight and airglow light the land, so colour and direction match the sky exactly. Turn on long-exposure noise reduction or shoot a dark frame. The stars will trail in this frame, so you mask them out. For a deep foreground take several at different focus distances and stack them, as in the aperture and depth-of-field guide.
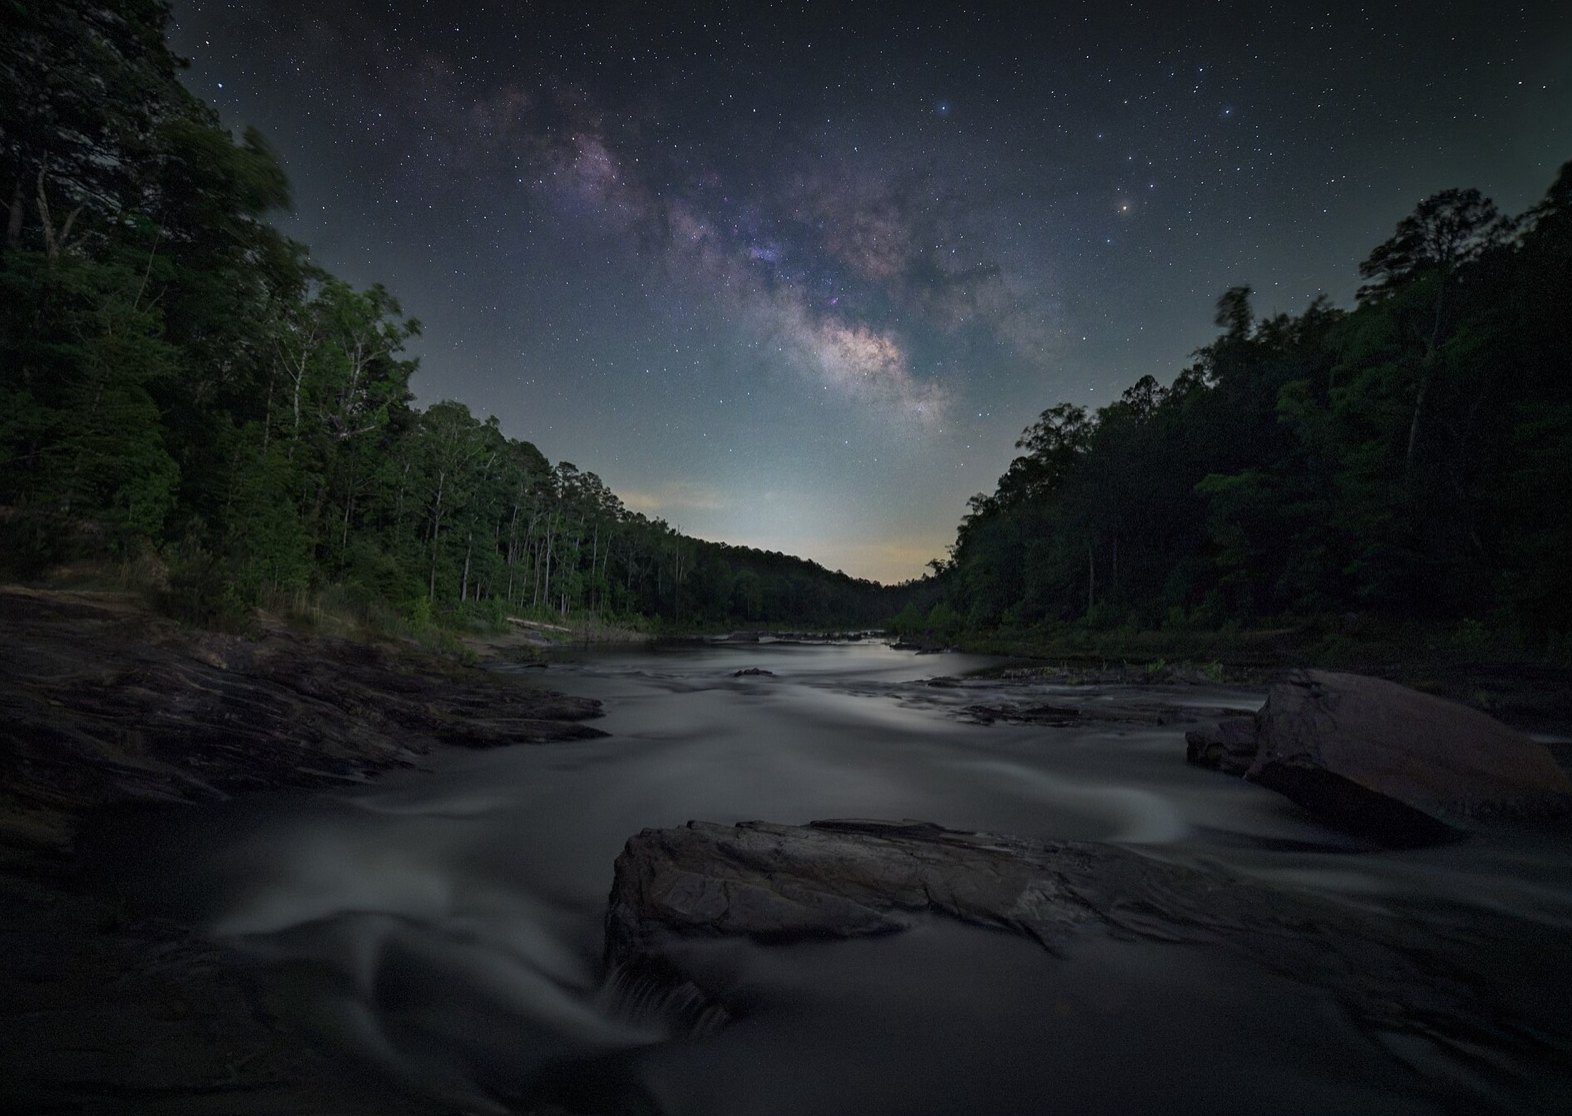

Describe both as blends. Neither is the same as replacing the sky with one shot somewhere else.
Method, settings, look, when
| Method | Typical settings | Look | When it suits |
|---|---|---|---|
| Moonlight, crescent–quarter | f/2.8, 15–30 s, ISO 800–1600. Moon beside or behind you. | Soft, directional, matches the sky. Core visible. | Any landscape, single frames or sequences. The 15–25% Moon nights each month. |
| Moonlight, full | f/4–5.6, 10 s to minutes, ISO 400 | Cool daylight with stars. No Milky Way. | Star trails, moonlit valleys, snow, desert |
| Low-level lighting | Sky settings. Panel at 1–5%, 65–165 ft, 3200–4500 K, side angle. | Even and soft, like moonlight. Repeatable. | Timelapses, panoramas, stacks, groups |
| Light painting | Sky settings. Torch from the side, 1–3 s bursts. | Bright, contrasty, "painted" | One frame, small subject, nobody else around |
| Blue-hour blend | ISO 100, f/8, 1–10 s at nautical twilight. Shoot the sky later. | Clean, sharp, blue. Can look unreal. | Large foregrounds, no Moon, early arrival |
| Long low-ISO frame | f/4–5.6, 2–8 min, ISO 400–800, refocused | Natural, dim, matches the sky's light | Moonless nights, any subject, patience |
| Silhouette | Sky settings only | Black shape against the core | Arches, trees, ridges, people |
How far, how bright: the inverse-square table
The figures are relative to a panel at 30 feet and full power. Each doubling of distance loses two stops, and each halving of power loses one.
| Change | Light on the subject | Stops |
|---|---|---|
| Distance 30 ft → 42 ft | 1/2 | −1.0 |
| Distance 30 ft → 60 ft | 1/4 | −2.0 |
| Distance 30 ft → 120 ft | 1/16 | −4.0 |
| Distance 30 ft → 240 ft | 1/64 | −6.0 |
| Power 100% → 50% | 1/2 | −1.0 |
| Power 100% → 25% | 1/4 | −2.0 |
| Power 100% → 10% | 1/10 | −3.3 |
| Power 100% → 3% | 1/33 | −5.1 |
| Power 100% → 1% | 1/100 | −6.6 |
| Both: 3% at 120 ft vs 100% at 30 ft | 1/533 | −9.1 |
Evenness depends only on distance. A foreground spanning 60–90 feet from the panel varies by 1.2 stops end to end, and one spanning 15–45 feet varies by 3.2.
Composing a Milky Way foreground
- Match the frame to the Milky Way's angle. From northern mid-latitudes the core rises as a diagonal in the south-east in spring, stands as a vertical band in the south in summer, and leans into an arch to the south-west by autumn. A band suits a portrait frame and a tall foreground. An arch suits a panorama over a wide one.
- Leading lines to the core: a road, shoreline, fence, dry wash or jetty leads the eye to the brightest part of the sky.
- Silhouettes against the band: a clean outline (arch, dead tree, person) needs no light at all if it sits on the bright part of the Milky Way rather than dark sky.
- Horizon on a third: low when the sky is the subject, higher when the lit foreground is.
- Reflections: still water gives sharp star reflections. Moving water blurs to a glow in 15–20 s and looks like glass after a minute or more.
- Trees and wind: foliage blurs in any exposure over a few seconds. Use the shortest sky exposure that works, shoot the foreground frame in a lull, or accept a soft canopy and keep the trunk sharp.
- Snow and sand reflect a lot of light. The same crescent Moon or panel that barely brightens dark rock brightens them well, and they pick up skyglow too.
Set your body and lens in the Still Dark Planner and the camera field-of-view overlay draws the frame on the map from your pin, with the Sun and Moon direction lines alongside. For a target behind a landmark, "stand here" alignment moves the pin to where the core, the Moon or a planet lines up over it. Then open the 360° sky at the same place and drag time forward to see the Milky Way's angle above your foreground hour by hour. There's more on planning in the Milky Way guide.
Scouting and working in the dark
- Scout in daylight. This helps more than anything else you can do, and most people skip it. Walk the location, find the foreground and the exact tripod spot, check where the core will rise relative to it, and drop a GPS pin. Note the route back and the cliff edges, and tell someone where you are.
- Headlamp in red mode, off during exposures. Even red light bounced off a rock shows in a 20-second frame. If someone else's light lands in your foreground, wait. It's usually gone in a minute.
- Focus the sky, then refocus the land. The sky frame is focused on a bright star (see focusing at night), and the foreground frame is focused on the foreground. Skipping the second step is the most common reason a blend is soft.
- Stay off the vegetation. Cryptobiotic soil, dune grass and alpine tundra don't recover from three tripods in a night.
Ethics and disclosure
A single exposure needs no explanation. A blend of foreground and sky frames from the same position on the same night is a composite, and that's fine as long as you call it one. A sky from another night, lens or place, or from a library, is a different thing. It can be a fine picture, but it isn't astrophotography and you shouldn't present it as what you saw from that spot. Competitions have written rules on this. The Astronomy Photographer of the Year rules accept composites but say the processing must be declared, and undeclared composites can be disqualified. Say what you did. Readers rarely mind a blend, but they do mind being told it was one frame.
Common mistakes
- Lighting from the camera position. It looks flat, with no shadows. Move the light 45° or more off axis.
- Too bright. The foreground should sit a little darker than the brightest sky. If it looks lit, it's too bright.
- Colour mismatch: a cool 5600 K LED on the rocks under a sky balanced at 3800 K. Gel it warm or correct the foreground layer.
- Hot spots from a panel or torch too close. Move it back.
- Forgetting to refocus and stop down for the foreground frame.
- Moving the tripod between the twilight frame and the sky frame.
- Blending a sky from a different place or night without saying so.
- Trampling the location, or lighting it in a park that prohibits it.
FAQ
What Moon phase is best for Milky Way photos with a lit foreground?
A crescent of roughly 15–25% illumination, low in the sky behind or beside the camera. By first quarter the Moon is almost too bright for it, and past that you're photographing a moonlit landscape with stars.
Is exposure blending cheating?
Not if the frames come from the same tripod position on the same night and you say it's a blend. Swapping in a sky from another place or time is a different kind of composite and isn't astrophotography.
How far away should a low level landscape lighting panel be?
Usually 65–165 feet, further for a large formation. Distance controls evenness, and the dimmer controls brightness. Start at a few per cent power and go down from there.
Can you use lights for night photography in a national park?
It depends on the park. Arches, Canyonlands and Grand Teton, among others, prohibit artificial light on landscapes and allow it only for route-finding. Most other public land has no such rule. Check the park's own website before the trip.
What settings for a separate foreground exposure at night?
After the sky frames, without moving the tripod: refocus on the foreground, f/4–5.6, ISO 400–800, 2–8 minutes depending on darkness and Moon. Take a dark frame or use long-exposure noise reduction. You mask out the trailed stars.
Sources and further reading
- Wayne Pinkston & Royce Bair — Low Level Landscape Lighting (LLL) (definition; constant-on; ~0.008–0.024 lux, below a quarter Moon; stacking, panorama and timelapse use).
- Royce Bair — Setting Up Low Level Landscape Lighting (panel power, distance, height, feathering, 3200–5600 K panels).
- National Parks at Night — Going Gradual: A Guide to Low-level Landscape Lighting (light 45–180° from the camera, never from it; etiquette).
- Stephen Bay — How to Achieve Detailed Foregrounds in Milky Way Photos (15–25% Moon; blue-hour blend; long starlight exposures; focus stacking).
- Lonely Speck — Star Trails and Moonlit Landscapes Tutorial (ISO 400, f/4–5.6 within three days of full Moon).
- National Park Service — Arches National Park: Photography (artificial light on landscapes prohibited; route-finding only).
- Royal Museums Greenwich — Astronomy Photographer of the Year: Competition rules (composites allowed, must be declared).
- Wikipedia — Inverse-square law (doubling the distance quarters the illumination).